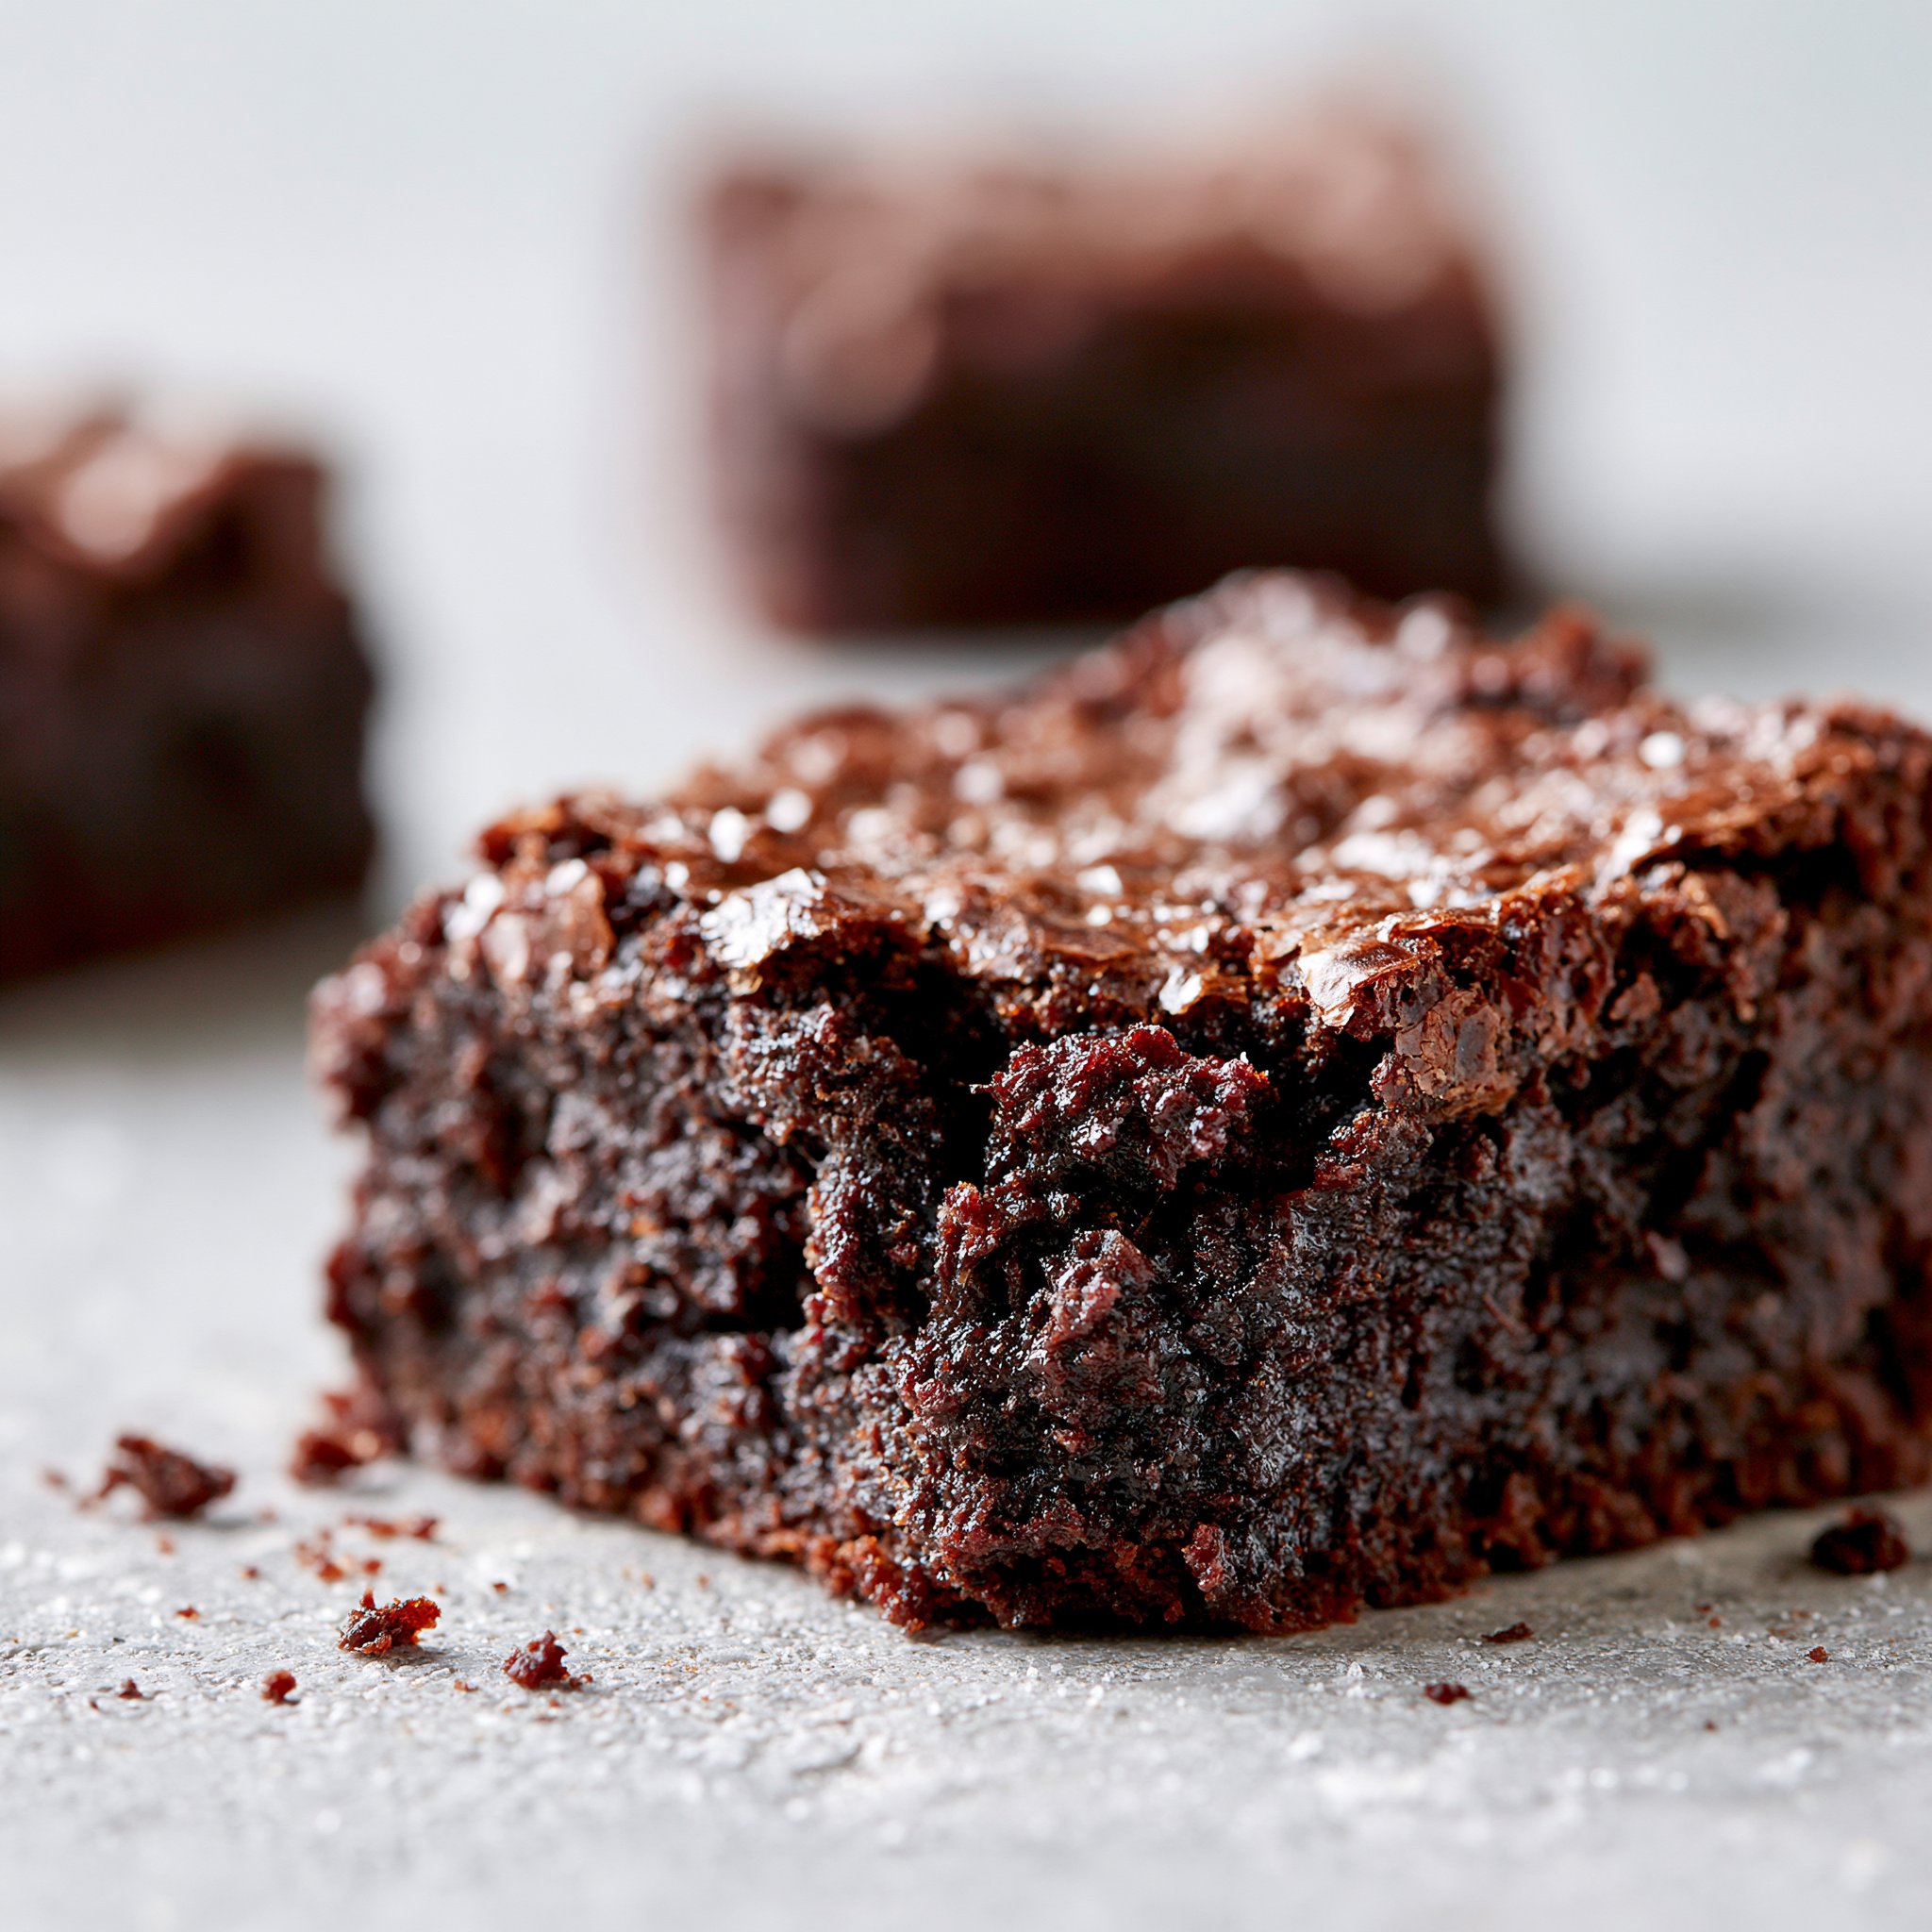
Warm cocoa and brown sugar make these gluten-free brownie bites taste like the center of a pan brownie—deeply chocolatey, a little chewy at the edges, and tender through the middle. Because they bake in a mini muffin tin, you get tidy little portions with set tops and that fudgy feel underneath.
I make them when I want something fast and familiar without dragging out a mixer or a long ingredient list. If you’re curious about the recipe voice behind Citrus and Crave, you can read more on my about page—but for now, let’s get chocolate on the table.
Why You’ll Love This Recipe
- Brownie texture in bite form: Baking in mini muffin wells gives you set, slightly domed tops with a soft, brownie-dense center.
- Balanced sweetness: A mix of granulated sugar and brown sugar brings sweetness plus a subtle molasses depth that plays well with cocoa.
- One-bowl vibe (almost): Dry ingredients whisk together in one bowl; wet ingredients mix quickly in another—no fancy equipment needed.
- Quick bake time: These are done in 12–15 minutes, so you’re not hovering over the oven all afternoon.
- Butter or coconut oil works: You can choose melted butter for a classic richness or coconut oil for a slightly different (still delicious) finish.
The Story Behind This Recipe
I developed this version for days when I wanted brownies but didn’t want to commit to slicing a whole pan—mini muffin brownies let me bake a small-batch feel with simple pantry staples, and the cocoa + brown sugar combo gives that “brownie corner meets fudgy center” payoff in every bite.
What It Tastes Like
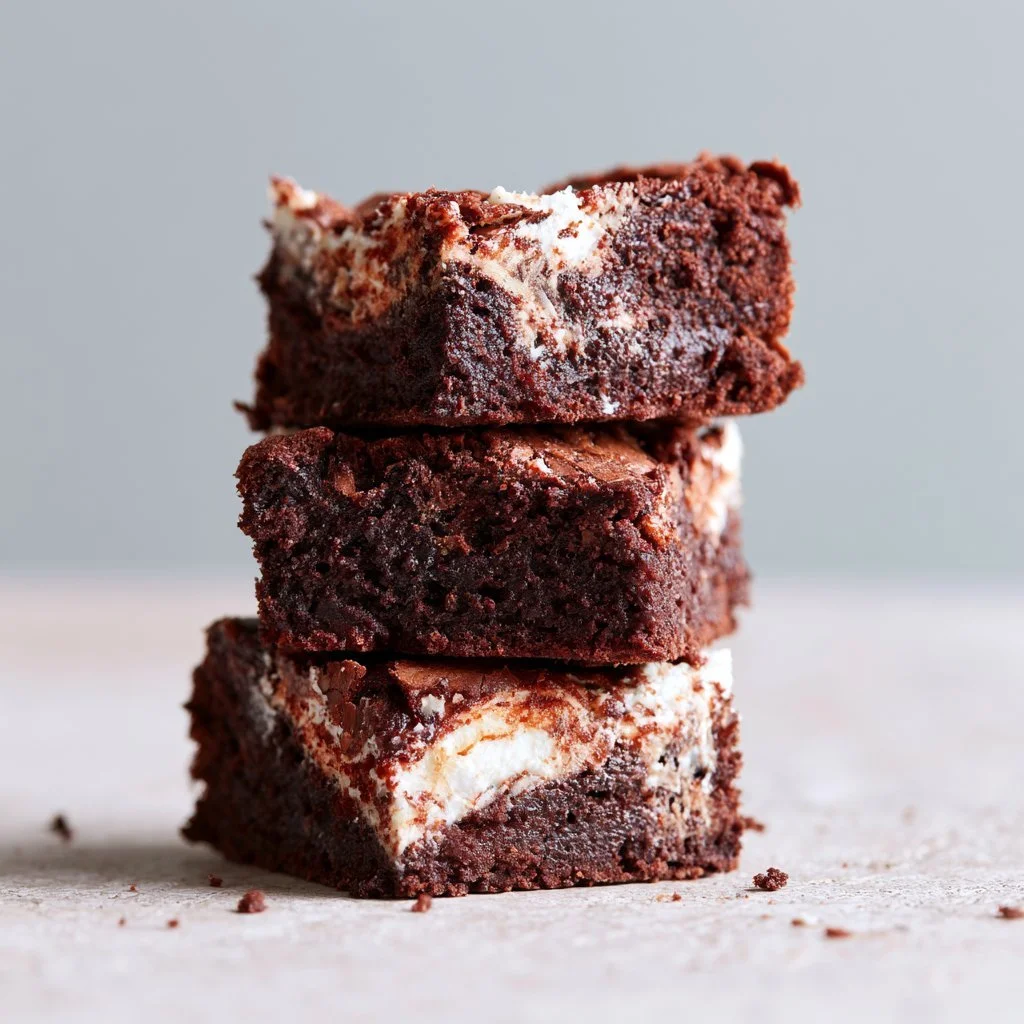
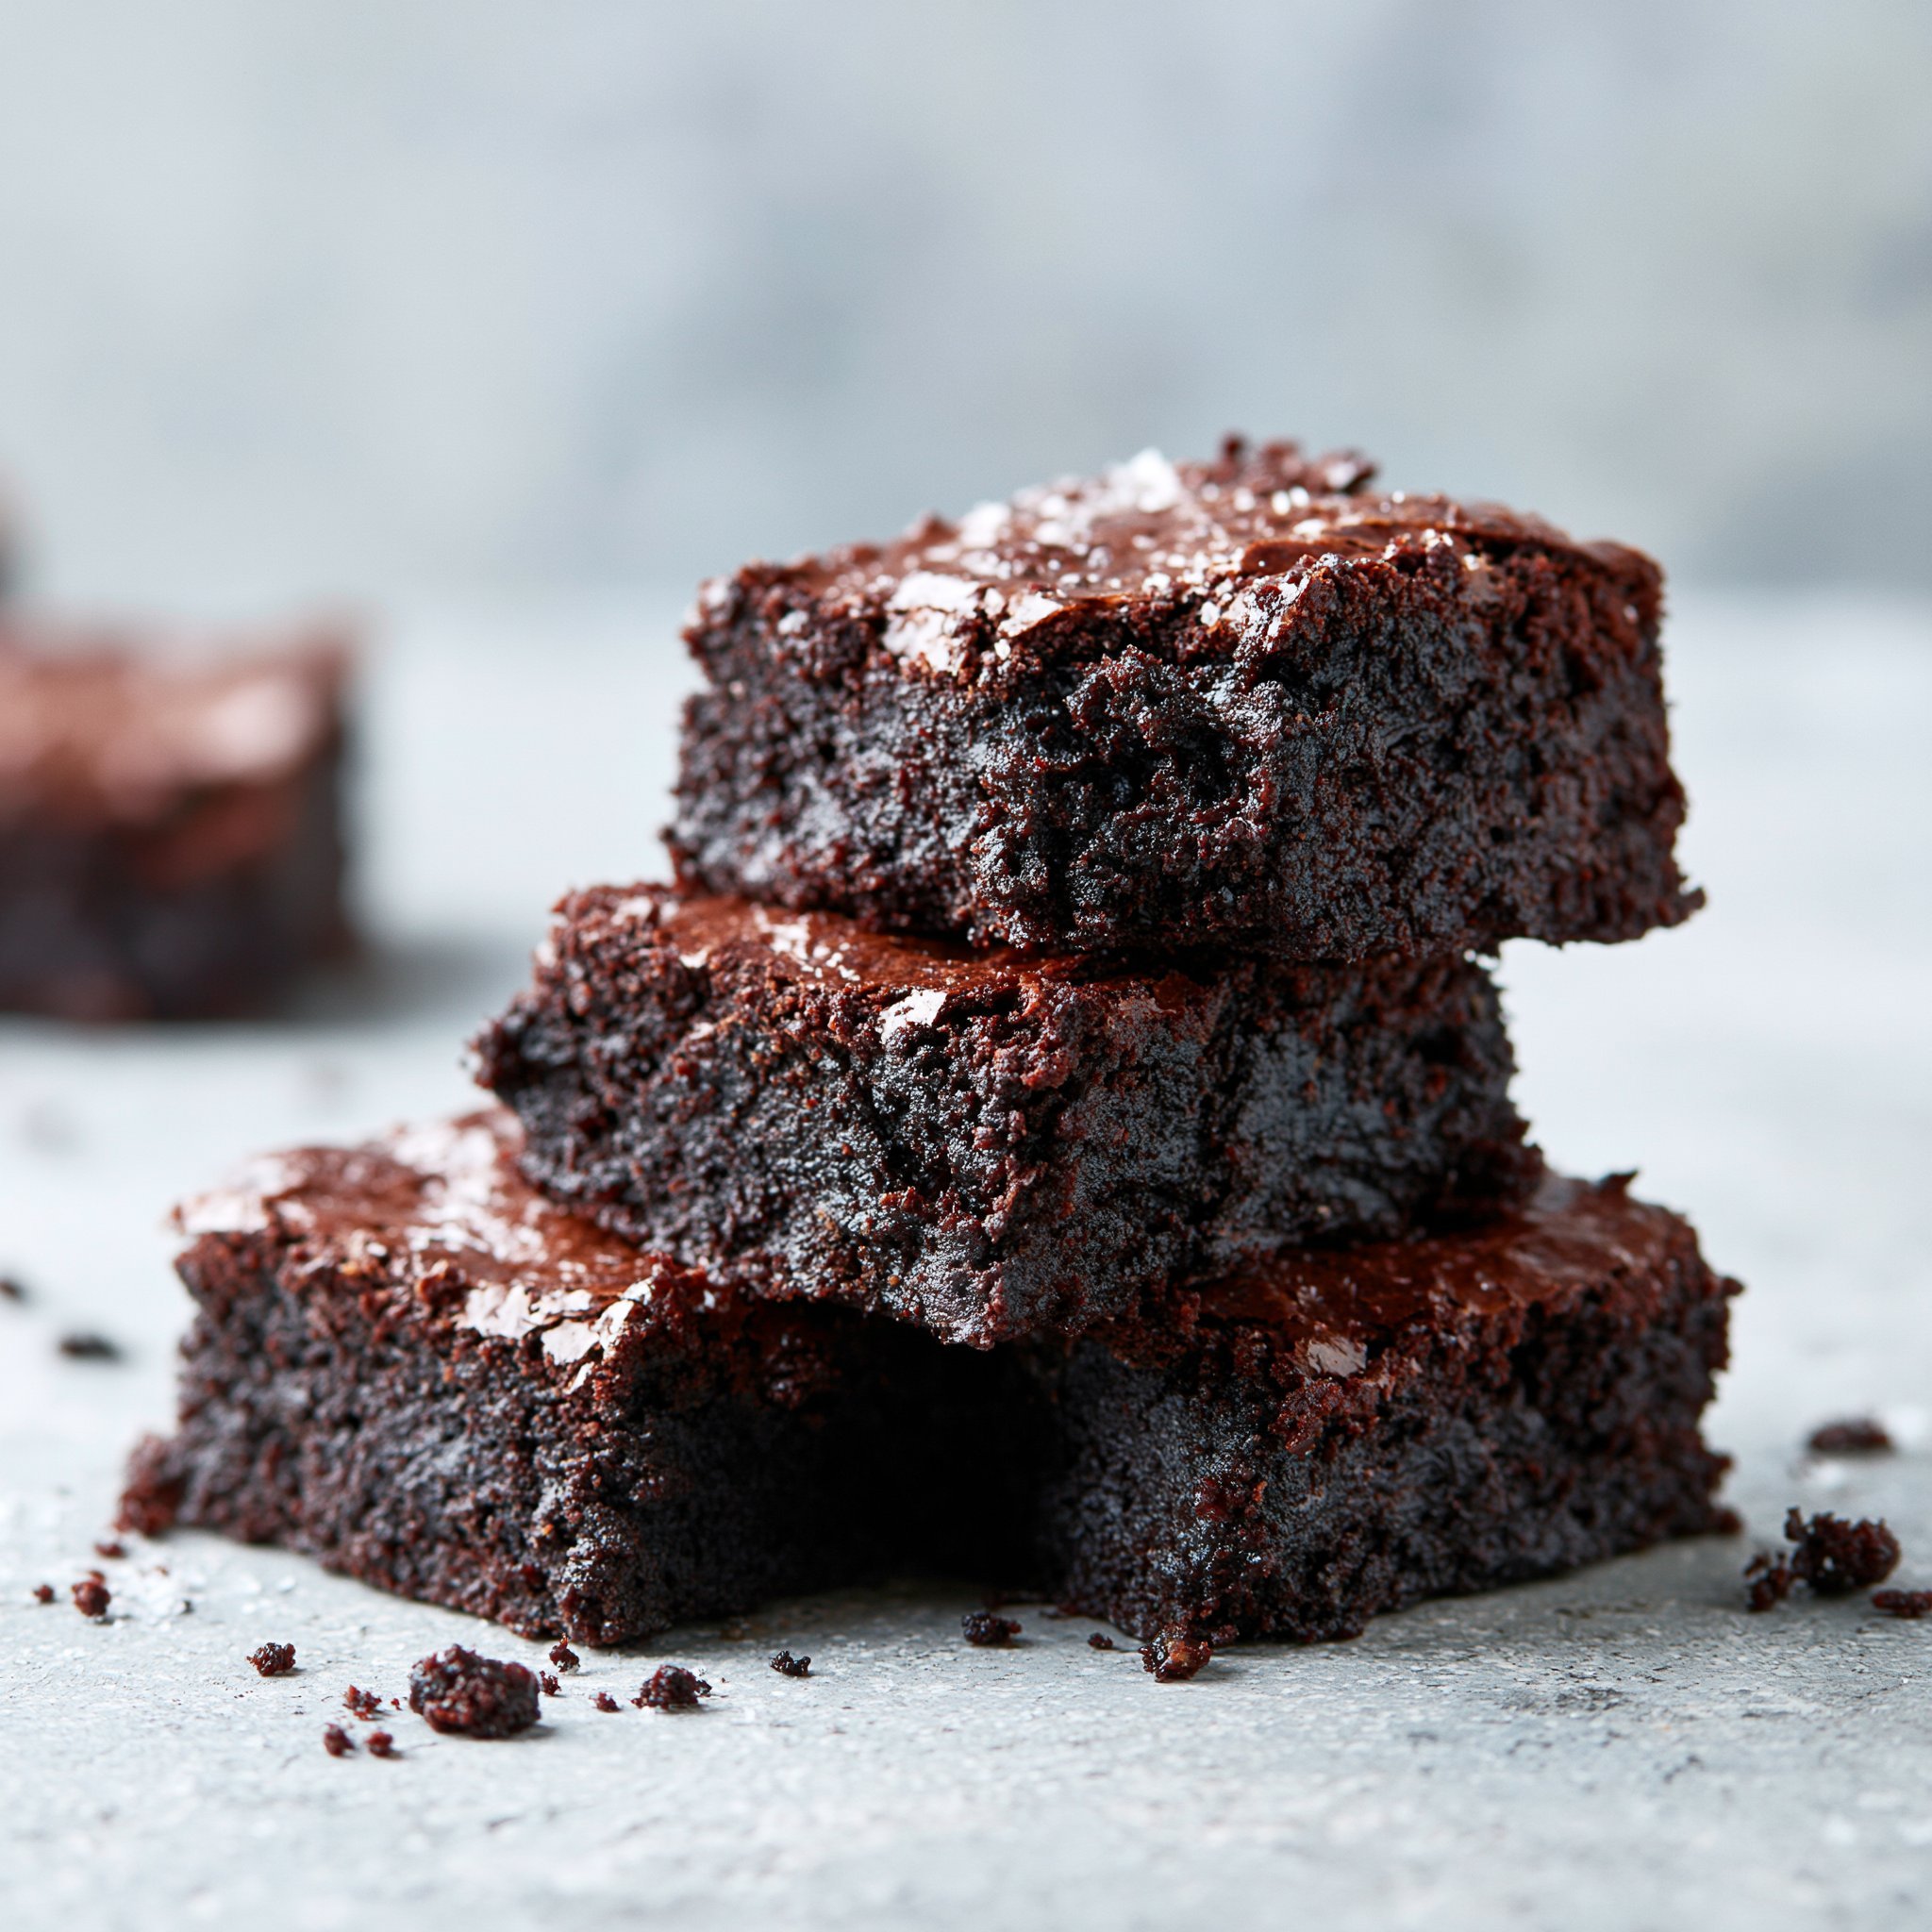
These taste boldly chocolatey (thanks to a full 1/2 cup cocoa powder), with a warm vanilla aroma and a caramel-leaning sweetness from brown sugar. The tops set into a thin, tender crust, while the inside stays soft and dense—more chewy brownie than cakey cupcake.
Ingredients You’ll Need
This recipe keeps it straightforward: gluten-free all-purpose flour gives structure, cocoa powder delivers the main chocolate flavor, and the two sugars add both sweetness and moisture (brown sugar especially helps with chew). Melted butter makes a classic rich brownie bite, while coconut oil works too and will slightly change the aroma and finish.
- 1 cup gluten free all-purpose flour
- 1/2 cup cocoa powder
- 1/2 cup sugar
- 1/2 cup brown sugar
- 1/4 cup melted butter or coconut oil
- 2 large eggs
- 1 tsp vanilla extract
- 1/2 tsp baking powder
- 1/4 tsp salt
How to Make Gluten Free Brownies
- Heat the oven and prep the pan. Preheat to 350°F (175°C) and grease a mini muffin tin well so the brownie bites release cleanly.
- Whisk the dry ingredients. In a medium bowl, whisk together the gluten-free flour, cocoa powder, sugar, brown sugar, baking powder, and salt until the cocoa looks evenly dispersed (no obvious brown sugar clumps).
- Mix the wet ingredients until smooth. In a second bowl, stir together the melted butter (or coconut oil), eggs, and vanilla until the mixture looks glossy and uniform.
- Combine—gently. Pour the wet mixture into the dry ingredients and stir just until you don’t see dry streaks. The batter will be thick; stop mixing as soon as it comes together to avoid tough brownie bites.
- Fill the tin. Spoon batter into the greased mini muffin wells, filling each about 3/4 full. (This helps them bake up with a neat top instead of spilling over.)
- Bake. Bake for 12–15 minutes, until the tops look set and a toothpick inserted in the center comes out clean.
- Cool briefly, then remove. Let them cool slightly in the tin—just until they’re firm enough to handle—then lift them out.
Tips for Best Results
- Whisk the cocoa thoroughly into the flour. Even distribution prevents bitter cocoa pockets and keeps the crumb consistently chocolatey.
- Cool the melted butter slightly before mixing. If it’s piping hot, it can make the eggs tighten up too fast; slightly warm is perfect.
- Don’t overmix once wet meets dry. Stir only until combined—overmixing can make gluten-free batters bake up a bit tougher.
- Start checking at 12 minutes. Mini muffin wells bake quickly; pulling them when the tops are set helps keep the centers tender instead of dry.
- Grease the pan more than you think you need. These are cocoa-heavy and like to cling; a well-greased tin makes removal easy. If you want to understand how this site handles browser data, you can review the cookie policy.
Variations and Substitutions
- Butter vs. coconut oil: Butter gives a classic, rich brownie aroma; coconut oil works smoothly too and may leave a faint coconut note.
- Sugar balance: Keeping both granulated and brown sugar is key to this recipe’s chew and moisture—swapping entirely to one type will change texture.
- Mini muffin tin only: This method is written specifically for mini muffin wells; changing pans will affect bake time and “doneness” cues. For general baking notes and limitations, I keep a quick reference in my recipe disclaimer.
How to Serve It
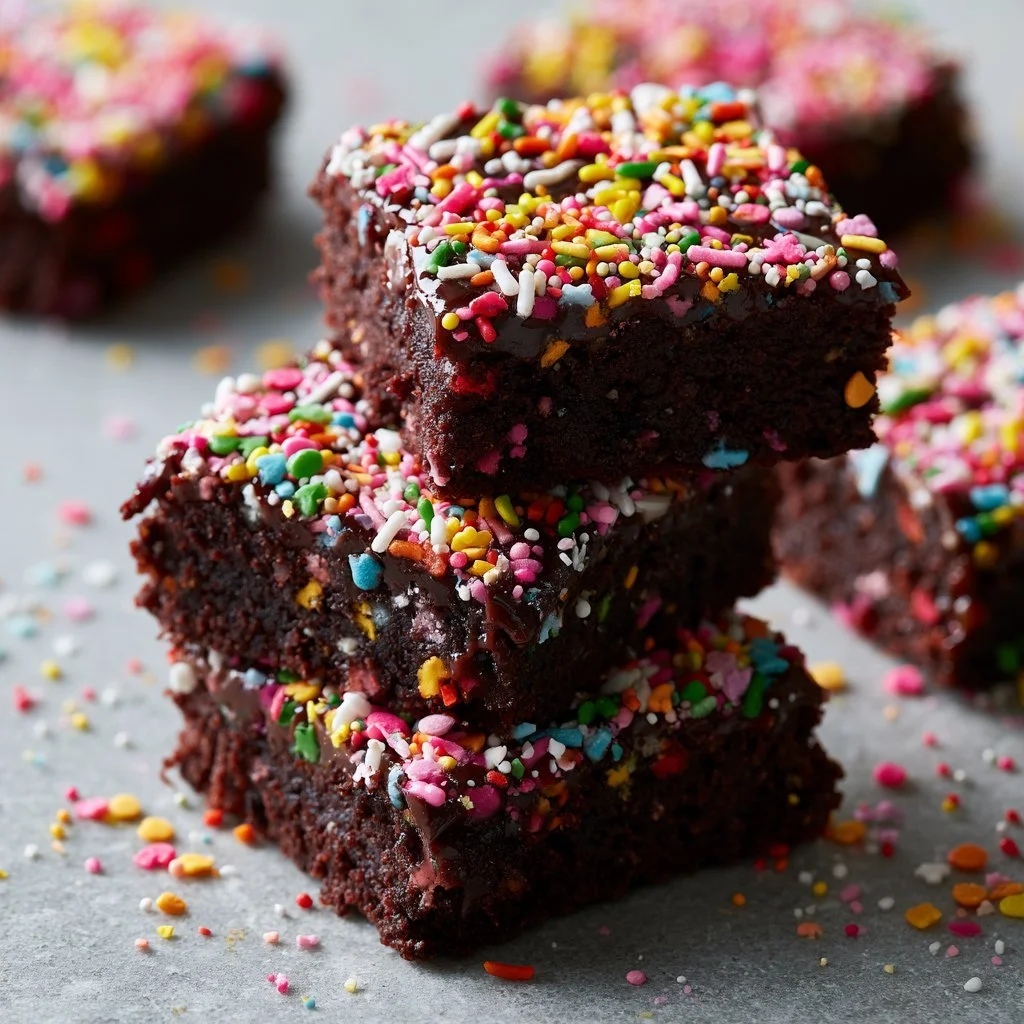
I love these slightly warm when the centers feel extra soft—give them 10 minutes out of the oven, then serve. They’re also great at room temperature, when the tops feel a bit more structured and the cocoa flavor tastes deeper. If you’re serving a group, pile them on a plate so the domed tops show off; they look like little brownie truffles without any extra work. For site-use details while you browse, you can read the terms and conditions.
How to Store It
Store cooled brownie bites in an airtight container at room temperature for a couple of days so they stay tender. If you want to keep them longer, refrigerate in a sealed container and let them come back to room temp before serving so the texture softens again. You can also freeze them in a freezer-safe bag or container; thaw at room temperature until the centers lose their chill. If you’re wondering how reader information is handled, you can review the privacy policy.
Final Thoughts
These gluten-free brownie bites are simple, cocoa-forward, and reliably satisfying—set tops, soft centers, and just enough brown-sugar chew to keep you reaching for one more.
Conclusion
If you’d like to compare styles, you might enjoy The Best Gluten-Free Brownie Recipe (Ultimate Fudgy!) for a classic pan-brownie approach. For another straightforward option, take a look at Gluten-Free Brownies, or explore a rich, gooey variation in Fudgy Gluten Free Brownies – Eat With Clarity.